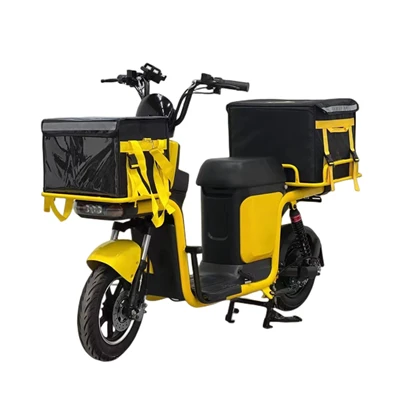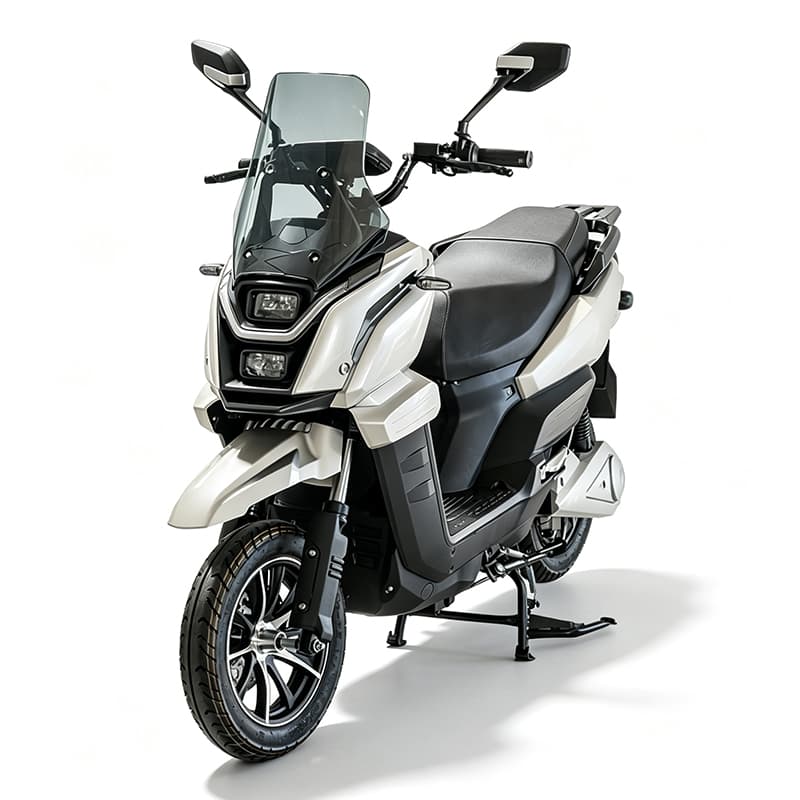

Pre-assembly Preparation
Check Parts: Unpack and verify that all components-such as the frame, battery, and wheels-are present and undamaged; remove all packaging foam and cable ties.
Prepare Tools: Gather basic tools such as a wrench, screwdriver, and hex key set.
Ensure Safety (Power Off): Turn off the power lock, remove the key, and disconnect the main battery switch to ensure the entire vehicle is powered down.
Read the Manual: Since structures vary by model, be sure to consult the specific assembly instructions for your model before starting.
Core Assembly Steps
Handlebar and Dashboard Installation: Align the handlebar with the mounting slot at the front of the frame, tighten the screws in a crisscross pattern to ensure there is no wobble or play, and then secure the dashboard.
Wheel and Shock Absorber Installation: Fit the front and rear wheels into their respective fork dropouts, tighten the axle nuts, and adjust the gap between the brake pads and the disc to prevent rubbing while riding.
Pedal Installation: Distinguish between the left and right pedals; tighten the left pedal counter-clockwise and the right pedal clockwise, then secure them firmly with a wrench.
Seat and Accessory Installation: Insert the seat into the seat post and tighten the fixing screws; then, install accessories such as fenders, lights, and mudguards in order.
Wiring and Battery Installation
Battery Securing: Place the battery into the battery compartment and lock it securely in place to prevent shifting or rattling while riding.
Wiring Connection: Connect plugs by matching colors (red to positive, black to negative); ensure connections are tight and wrap the joints with electrical tape to prevent short circuits.
Cable Management: Tuck excess wiring into the designated cable channels and secure with cable ties to prevent exposure and abrasion.